This post explains how to create SAP custom table step by step. The type of table we will create is called a transparent table, database table, Z table, or custom table.
We will create the table ZSAPFI_EU as an example. This table will contain the following fields:
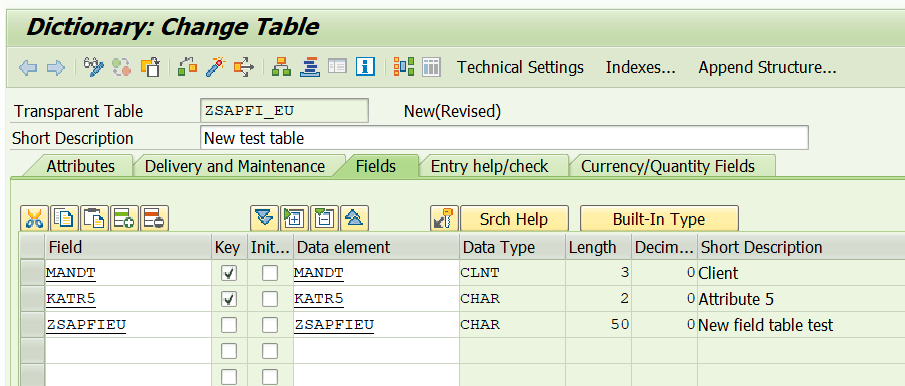
| Field | Key |
|---|---|
| MANDT | X |
| KATR5 | X |
| ZSAPFIEU |
The table will contain the standard field KATR5 and the field ZSAPFI_EU that we need to create. The field MANDT (Client) is mandatory and remains hidden.
Create SAP custom fields
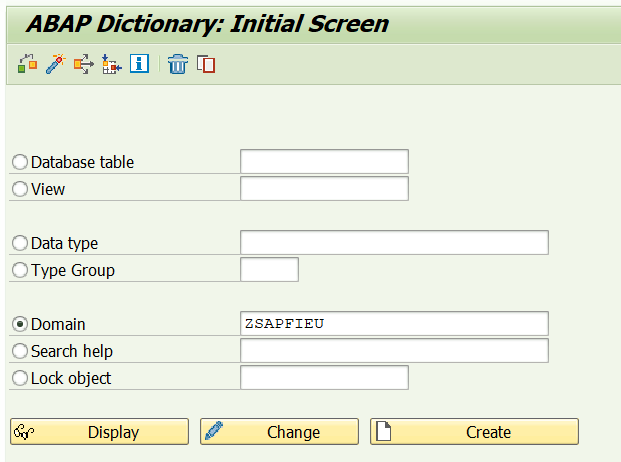
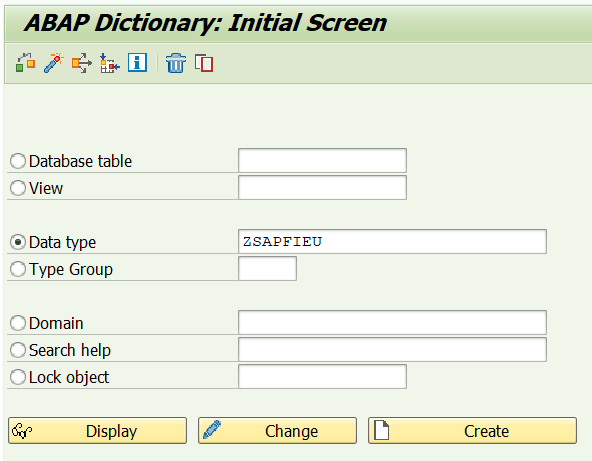
Before creating the table in SAP, we will create the field ZSAPFIEU. To do this, we access transaction SE11 and enter the name of the new field in Domain. Then, we click on Create.
Next, we provide the following data:
- Data Type = CHAR
- No.Characters = 50
- Output Length = 50
Note: We provide the Data Type according to the field type; for example, Data Type = NUMC for a numeric field.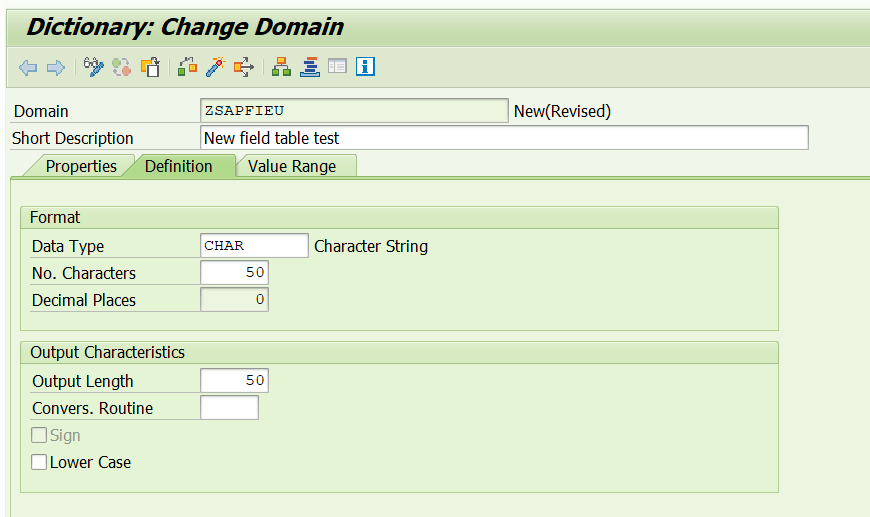
Then, we click on Check and provide a package to transport the field and the table to other environments.
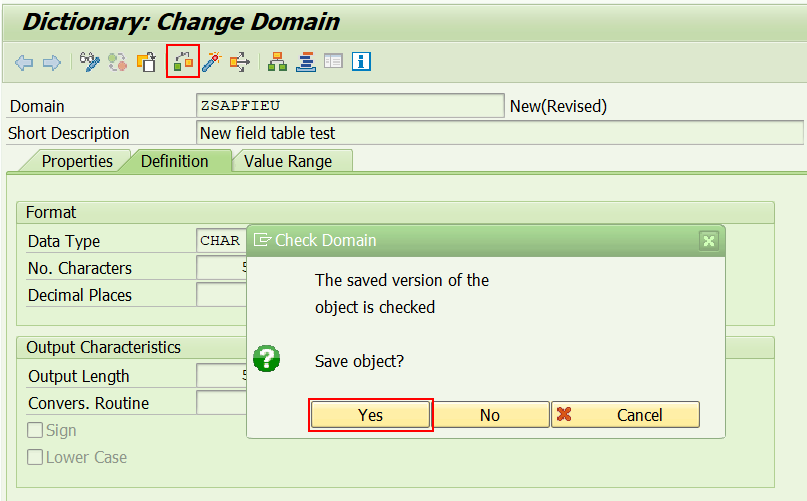
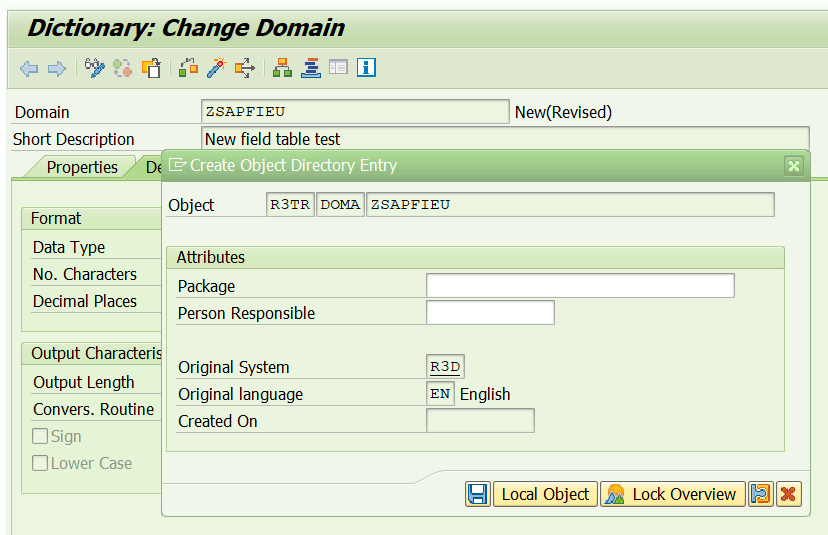
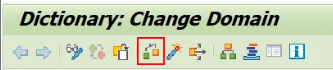
Finally, we click on Activate.

Once the Domain is created, we need to create the Data Type. We click on Create and select Data element.

Next, we provide the following data:
- Short Description
- Domain = Name of the Domain created earlier

On the Field Label tab, we provide the field descriptions:
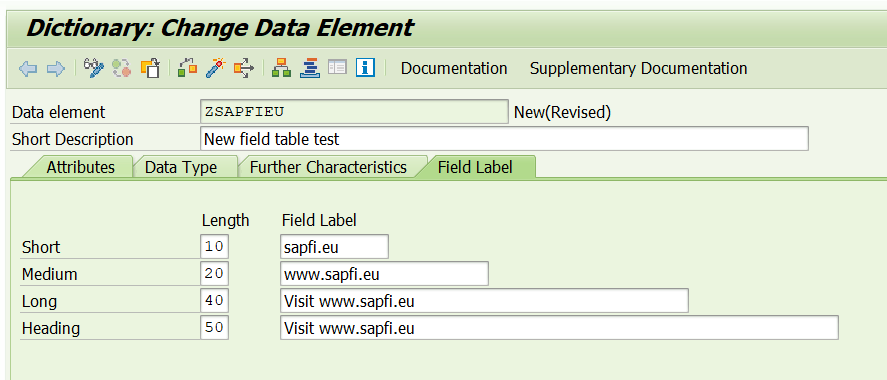
Finally, we click on Check and Activate.
Are you finding it useful? Help for more content!
Create SAP custom table
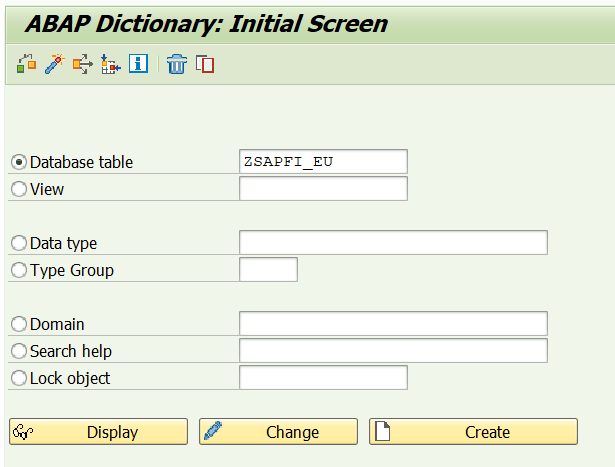
To create the table in SAP, we access transaction SE11 and enter the name of the new table in Database table. Then, we click on Create.
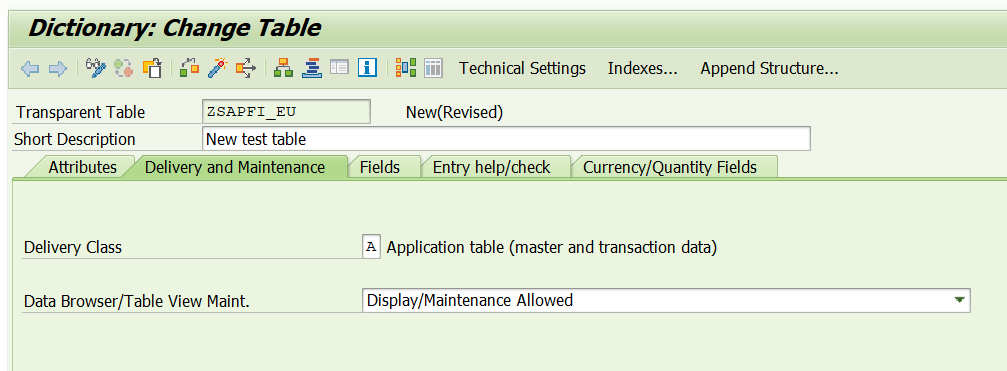
Next, we provide the following data:
- Short description
- Delivery Class = A
- Data Browser/Table View Maint. = Display/Maintenance Allowed
Then, we go to the Field tab and enter the fields that the table should contain.
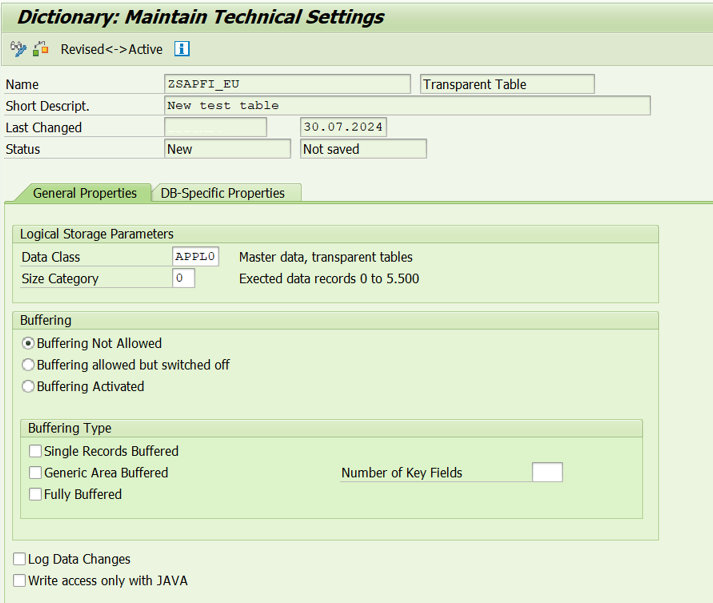
Next, we save and click on Technical Settings:

Here, we provide the following data and click on Activate:
- Data Class = APPL0
- Size Category = 0
- Buffering = Buffering Not Allowed
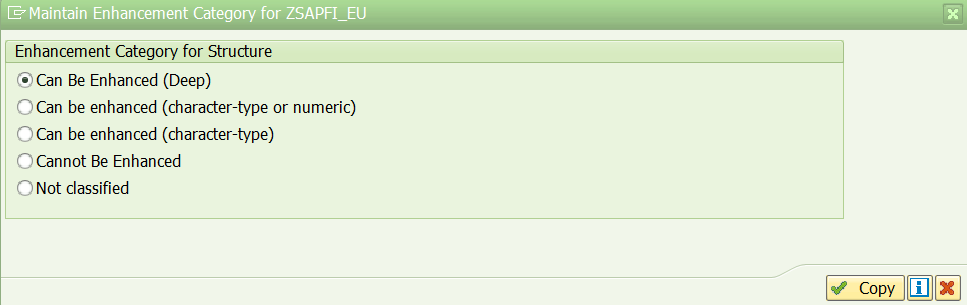
We return to the previous screen and click on Extras > Enhancement Category

We select the option Can Be Enhanced (Deep) and click on Activate.
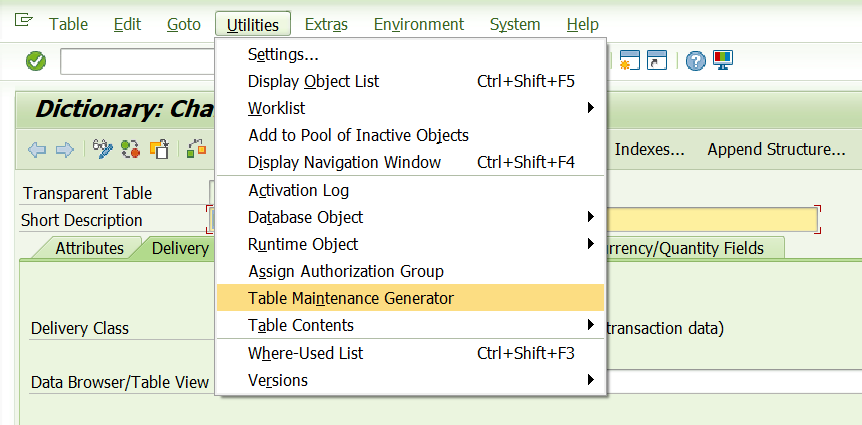
Next, we click on Utilities > Table Maintenance Generator to make the table accessible via transaction SM30.
We provide the following data:
- Authorization Group = &NC&
- Function Group = The name of our table
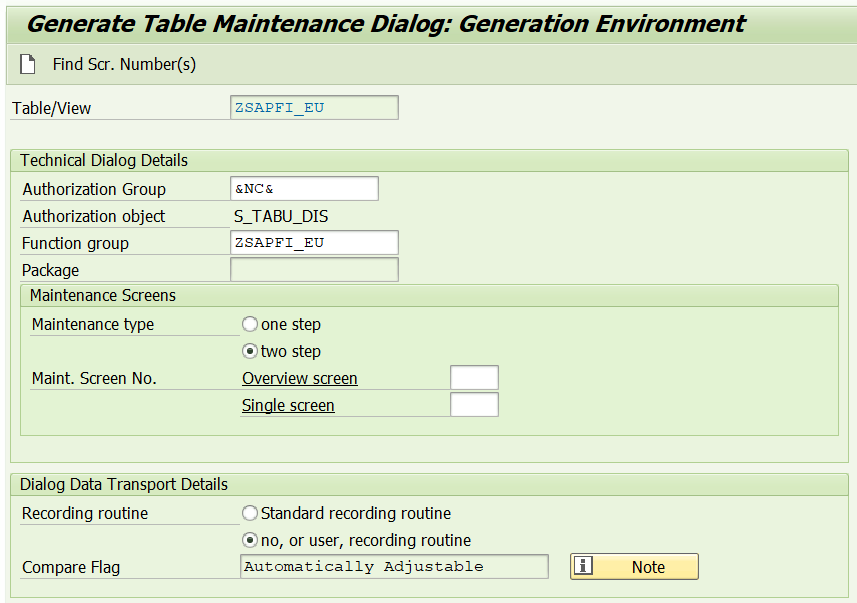
Then, we click on Find Scr. Number(s).

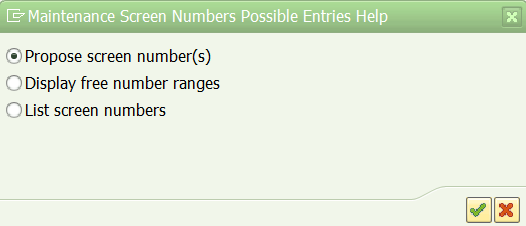
We select Propose Screen Number(s).
Finally, we click on Create and save in the package to be transported.

If everything is correct, we will see this message:

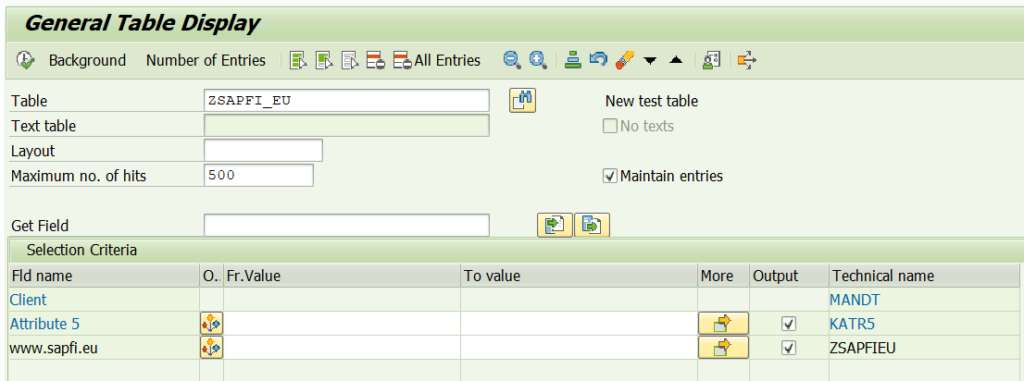
The table is now created and accessible from transaction SE16, SE16N, and SM30.