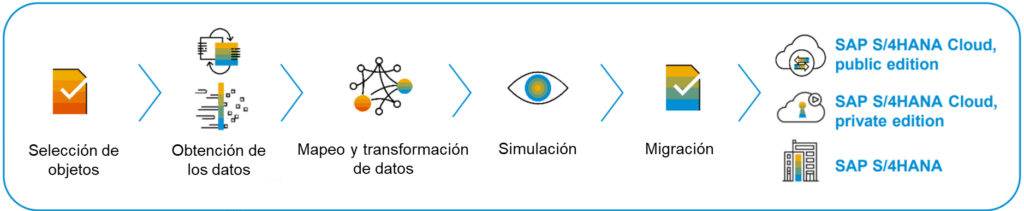
SAP Migration Cockpit is a tool that allows you to migrate data from the current system (whether it is SAP or not) to the new S/4HANA system. This article explains how to migrate data with the SAP Migration Cockpit between a system and S/4HANA by reading the data directly from the current SAP system.
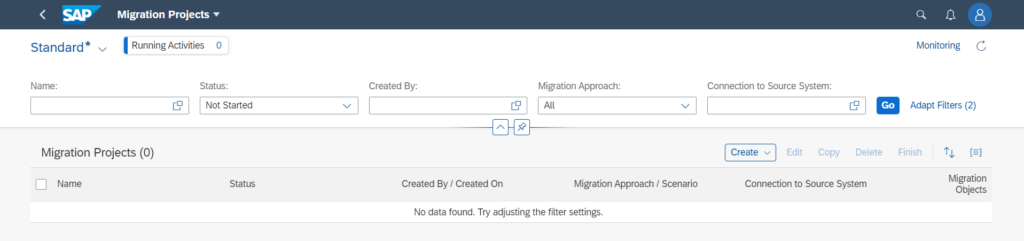
To migrate your data with SAP Migration Cockpit you need to access the application Fiori Migrate your data and follow the steps below:
In the Migrate your data app select Create > Migrate data directly from SAP System
Create new project
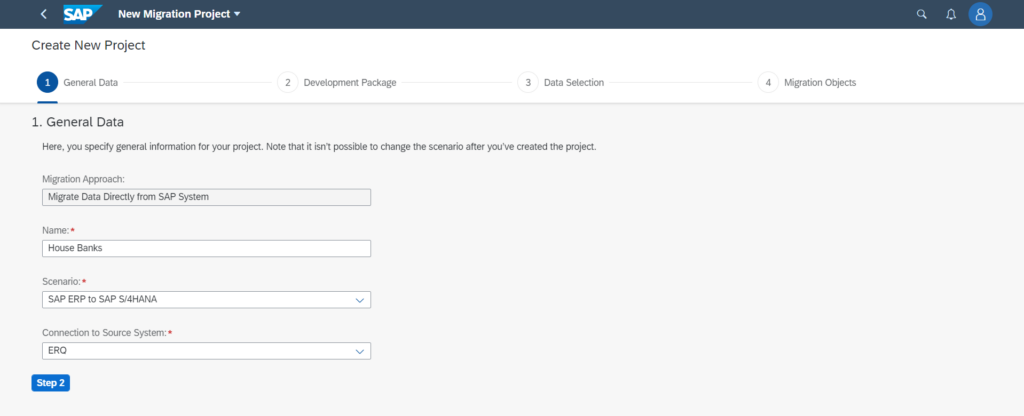
General data

Here, you specify general information for your project. Note that it isn’t possible to change the scenario after you’ve created the project.
Provide a name for the project, a scenario, and the source system. Then click on Step 2:
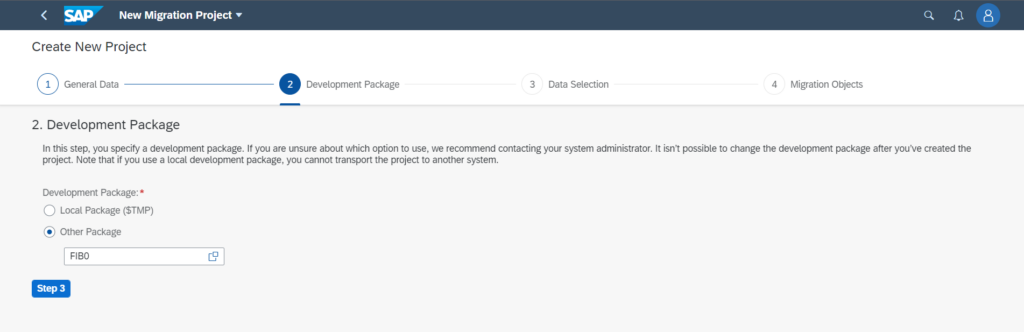
Development Package
In this step, you specify a development package. If you are unsure about which option to use, we recommend contacting your system administrator. It isn’t possible to change the development package after you’ve created the project. Note that if you use a local development package, you cannot transport the project to another system.
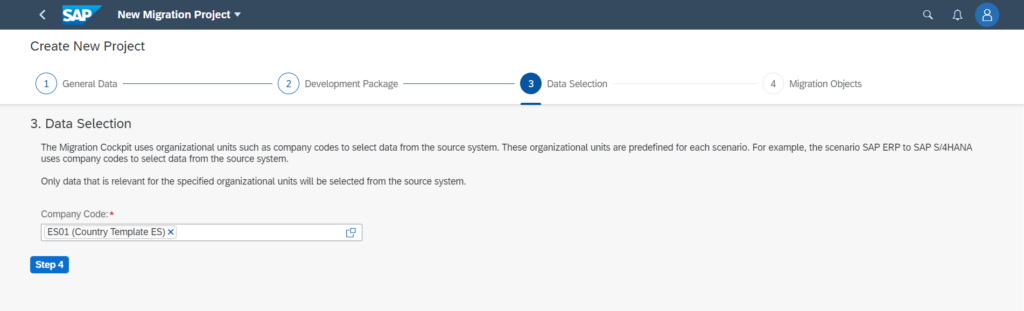
Data selection
The Migration Cockpit uses organizational units such as company codes to select data from the source system. These organizational units are predefined for each scenario. For example, the scenario SAP ERP to SAP S/4HANA uses company codes to select data from the source system.
Only data that is relevant for the specified organizational units will be selected from the source system.
Add migration objects
In this step, you add the relevant migration objects to your project. Note that you can add additional migration objects after you create a project.
Select the object on the left and move it to the right.
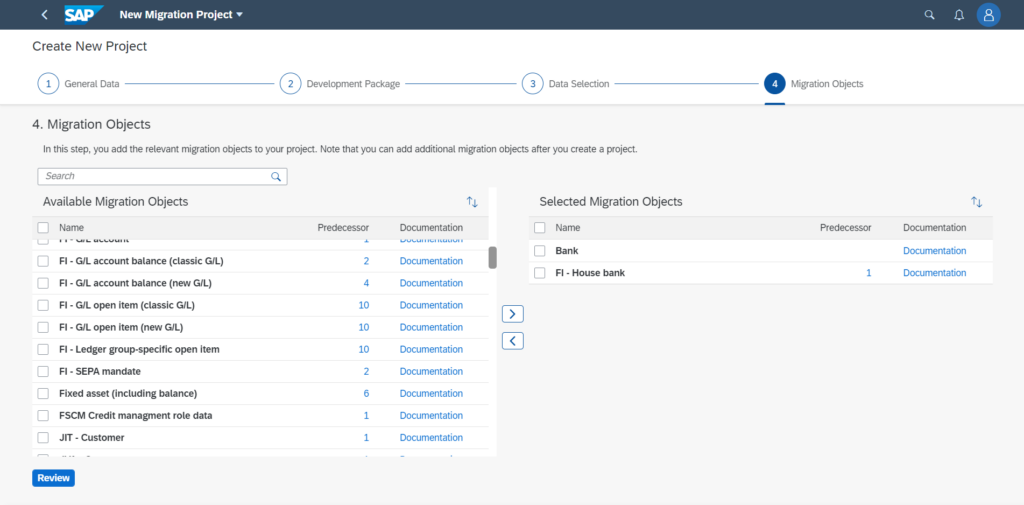
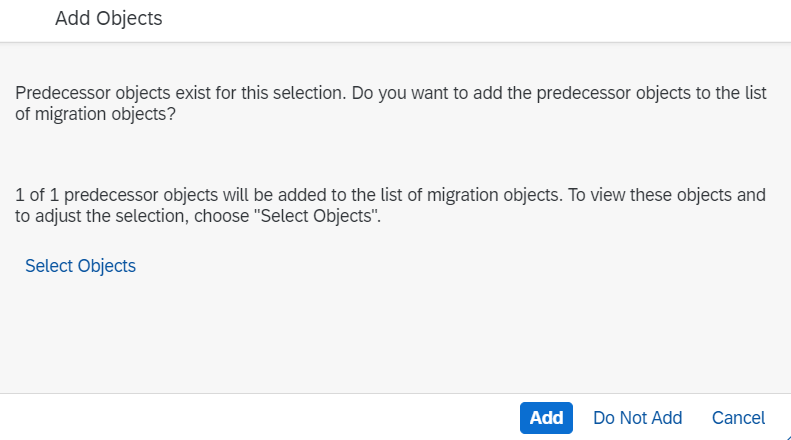
To create an object in the new system you need the predecessor objects. If you don’t have them in your currnt system, add them to the project.
Then click Review, and if everything is correct, click Create Project.
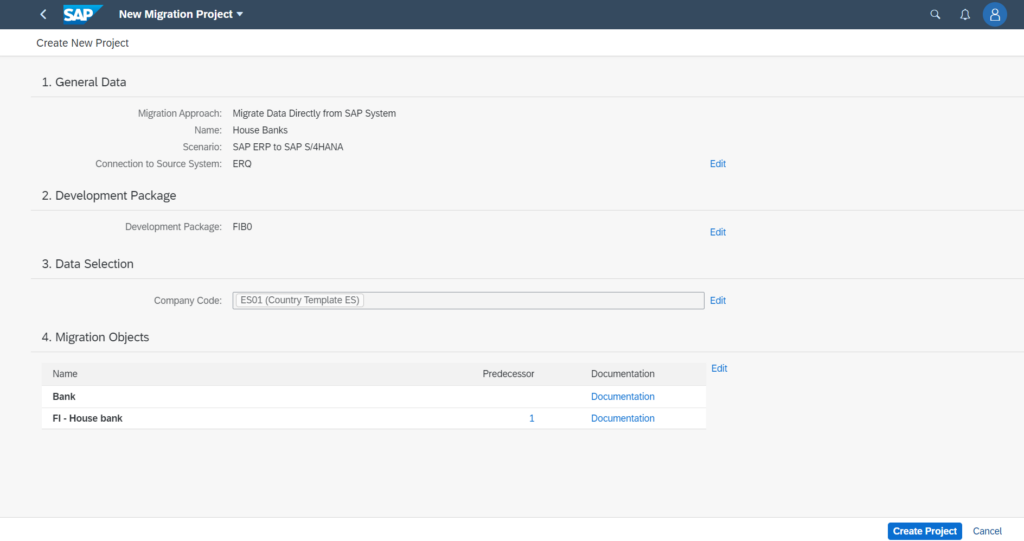
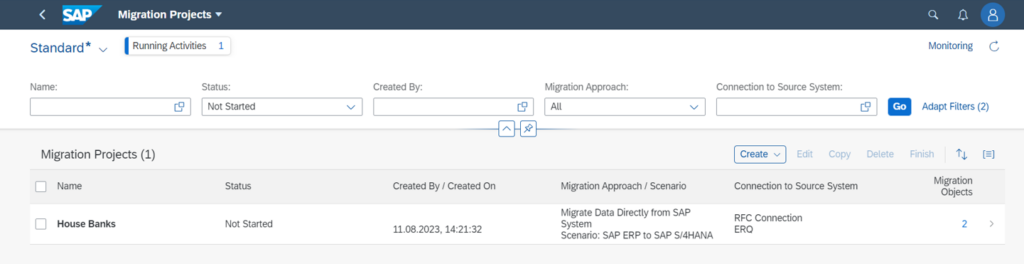
The project has been created:
Are you finding it useful? Help for more content!
Migrate your data
Once your new project is created, click Monitoring to verify that the object preparation tasks are ready.
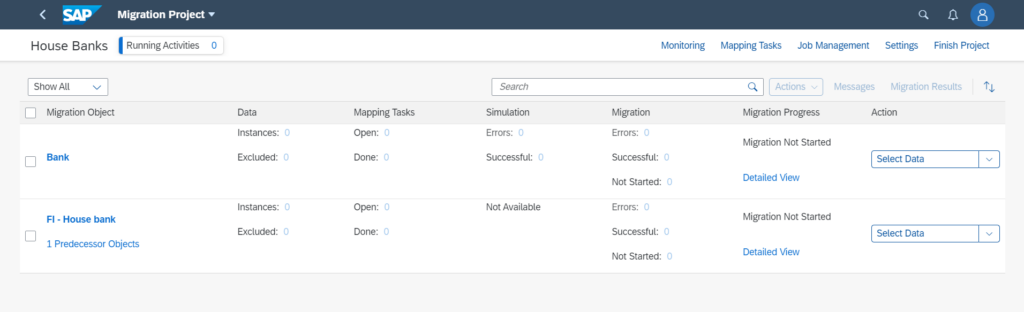
Select data
On your project screen, click Select Data to select the data from your current system.

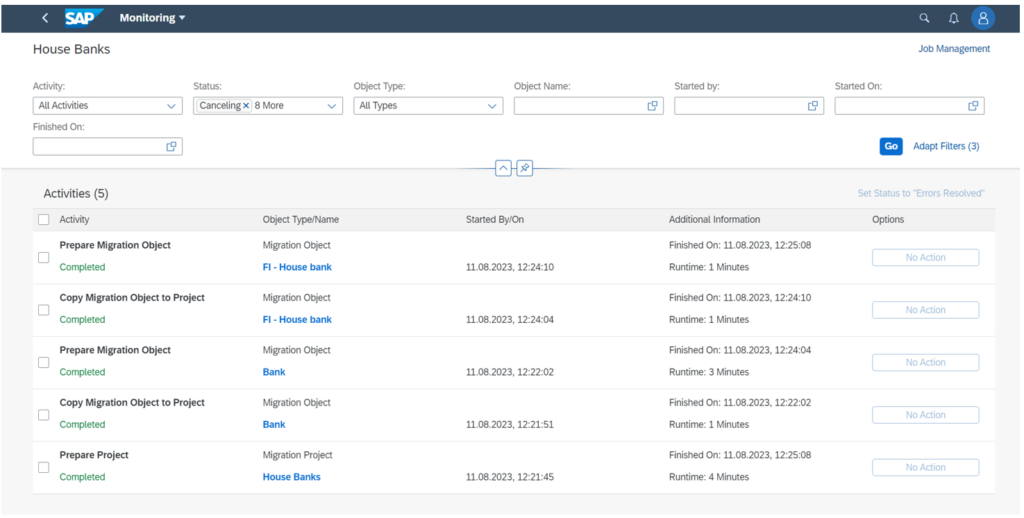
Review Monitoring to monitor the process. You will be able to see when each task is finished and possible errors.
Review instances
Once the organizational unit data is selected, you can exclude any instances you don’t want to migrate by clicking the instances.

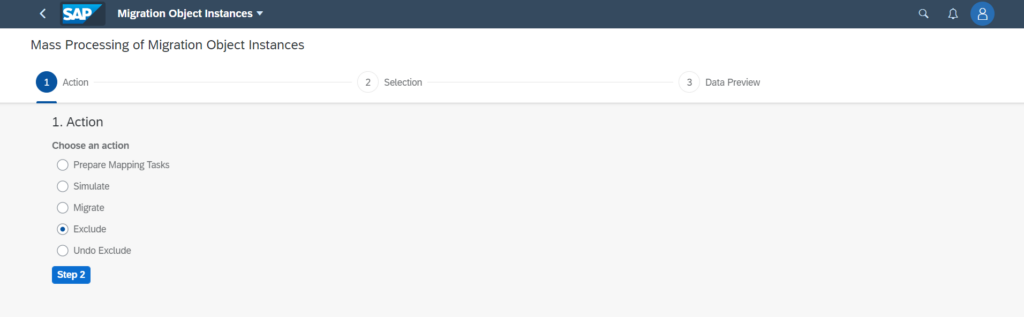
In this example, 114,226 instances have been selected, but we only want to migrate 1. Use the Mass Processing tool to mass exclude instances.

Follow the steps in the app to select and exclude the instances you don’t want to migrate.
Review Monitoring to monitor the process.
Prepare Mapping Tasks
Click Prepare mapping tasks and select from all instances or a custom selection.

Review Monitoring to monitor the process.
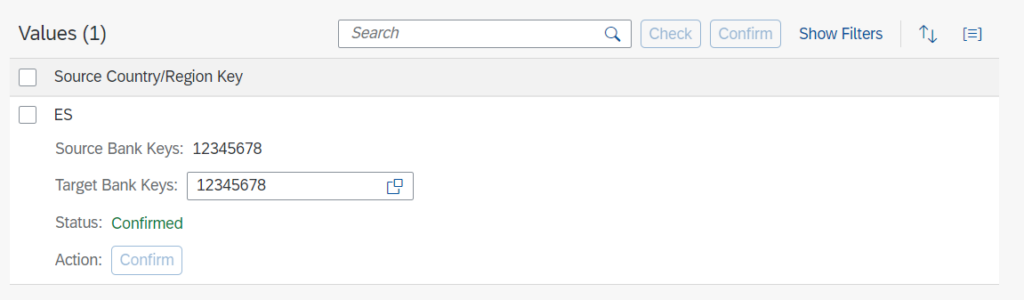
Click Mapping Tasks to map the fields of your current system and your new S/4HANA system. Change or confirm the values.
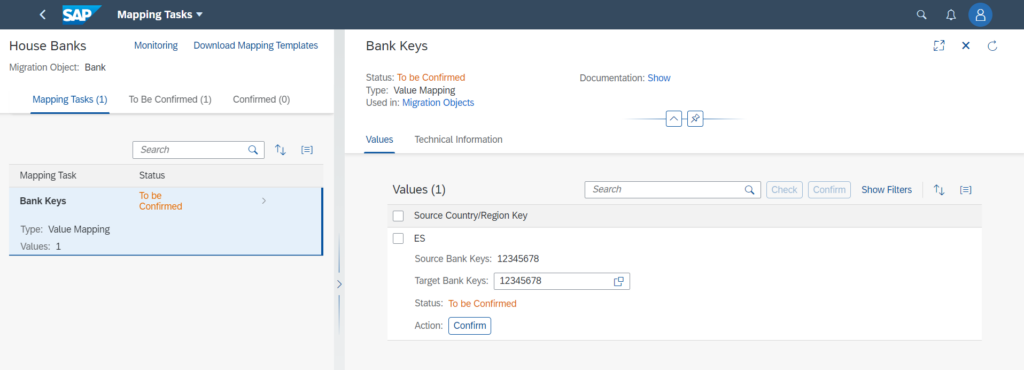
You can also download a template to complete the mapping by clicking Download Mapping Tamplates. You can then upload the template by clicking Upload Values:

Are you finding it useful? Help for more content!
Simulation
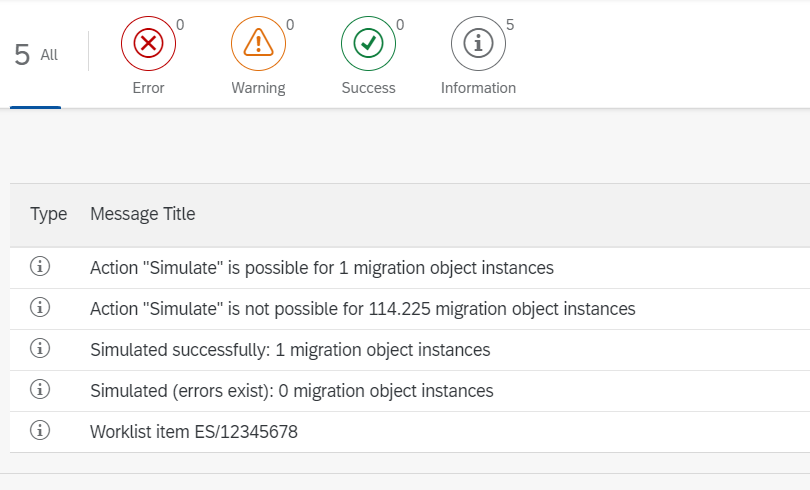
Click Simulate to simulate the migration.

Review Monitoring to monitor the process.
Migration
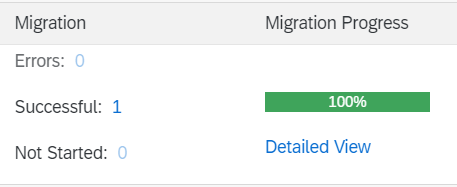
Click Migrate when you are ready to migrate your data between systems.

Review Monitoring to monitor the process.
Repeat the process for all migration objects.
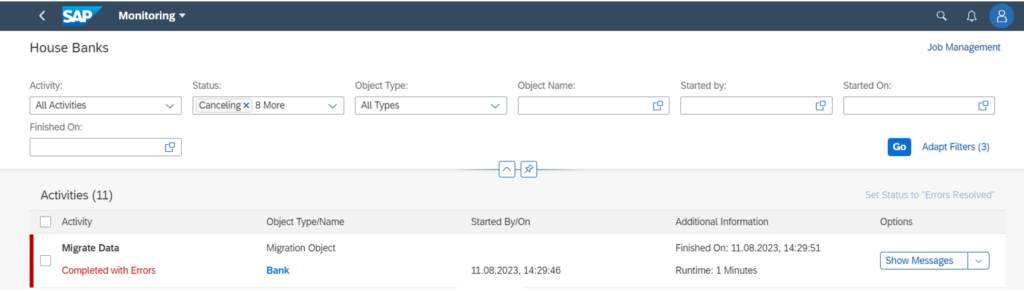
Troubleshooting
If the migration or any task ends with errors, check the Monitoring screen.

Select Show Messages on the Monitoring screen to see the error details and fix them.
Did you find it useful? Help for more content!
Learn more

Curso Consultor SAP FI
Aprende las principales configuraciones y flujos de SAP FI: Contabilidad, Cuentas a Cobrar, Cuentas a Pagar y Tesorería. Todo lo que necesita un consultor SAP de finanzas.